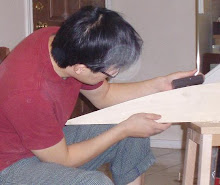
 I built this workbench for the new workshop several months ago, when I had the day to myself. It was one of those lofty goal moments since I had no idea what I was building. I didn’t plan much, I stopped by Agent Orange on the way home from work the day before and asked them to rip a sheet of MDF to 23-1/2 “ wide. Got some 2×3 pine to along with that, total price, $28. The rest of the materials were things I had saved from my old shop, a couple of 4×4 redwoods and some 1×3 poplars.
I di d know the bench would be built permanently onto the wall, it would have a way to clamp wood for planning and cutting dovetails and tenons. That was it. My last work bench was an IKEA stepstool I had purchased for $9.99. It’s design would inspire my new workbench by having a multipurpose slot on the top.
So I went to work. Now, I’m not good at taking pictures of the procedures since it slows down my creative process. But this is the final product. Six hours of work and about $60 worth of materials. I hope it works. The slot is designed for my Japanese saw, it cuts on the pull stroke, so I use the downward force to hold down the wood. This notch gives me clearance as I like to kneel and cut on the down stroke.
 The front slots is for clamps, there’s plenty of holes so it offers plenty of flexibility. I have more ideas on jigs and attachment for my bench, but that will have to wait for later.
The top is held down my gravity and wood dowels, hammered in and cut flushed. This lets me flip the top and change it should it wears.


